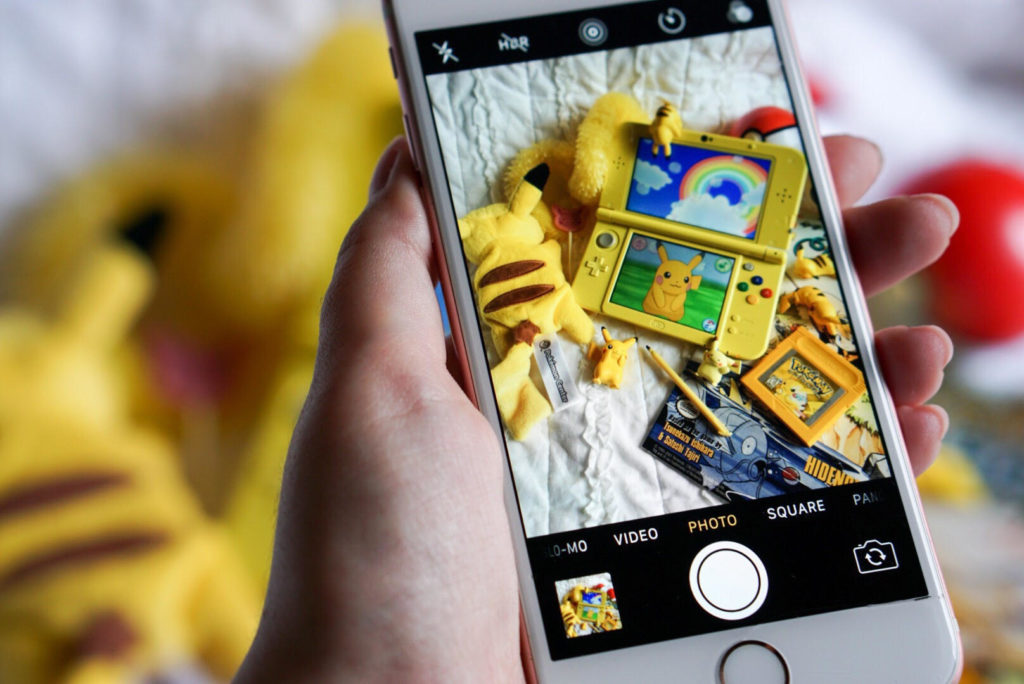
So you want to be the very best there ever was at gaming photography? Today, I’ll be giving you some of my best tips, tricks and exclusive behind the scenes at how I take my photos. Don’t have a fancy mirrorless or DSLR camera? Don’t you fret! I’ll also be displaying how to take the same photo on your smartphone device.
When I first started taking photos a few years back, I started with whatever iPhone was relatively current at the time and now I shoot with a Sony A6000 with a 50mm lens. This guide should help any gamer or collector looking to take better photos whether you’ve never taken a photo before or if you have some experience and just want to get another perspective.
Your subject matter
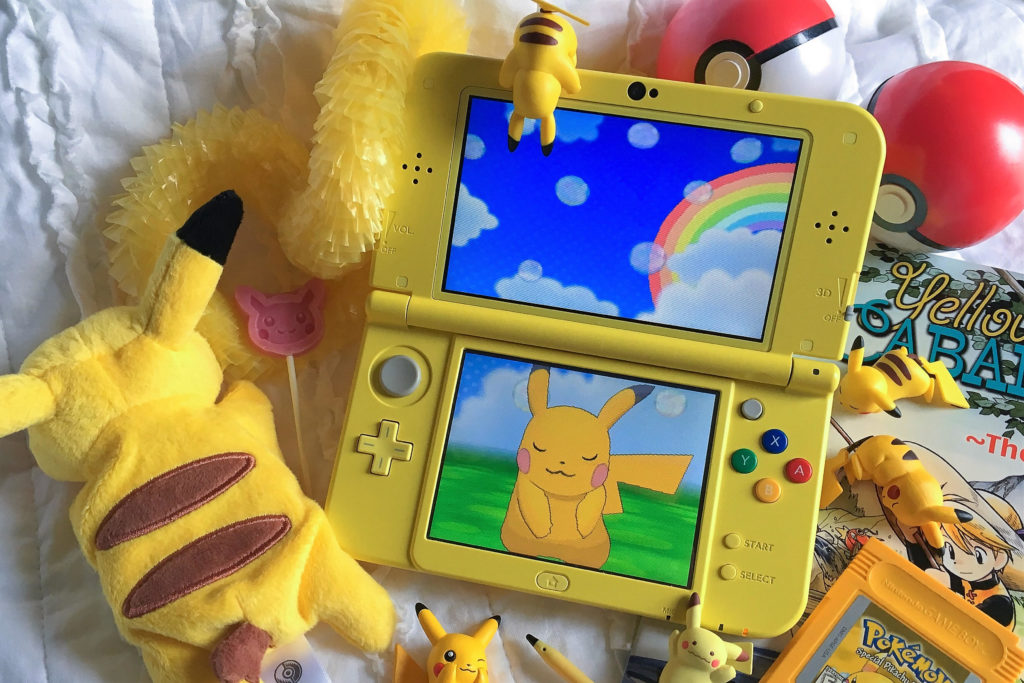
If you’re already following me on any of my social media platforms, you probably already know that I am an avid shiny hunter. In this guide, I’ll be shooting with my Pikachu New Nintendo 3DS XL featuring my shiny Pikachu that I caught in Pokemon X.
You can choose whatever you’d like to feature, it can be your favorite game or whatever game you’re currently playing.
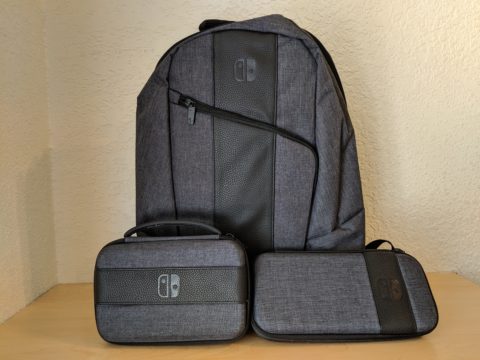
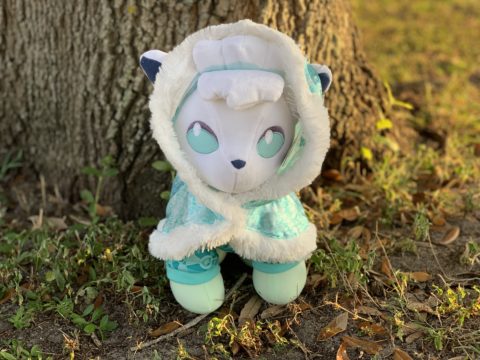
Props and backdrop

For your backdrop you can pretty much use anything, just make sure it isn’t distracting. I like to use a blanket or some sort of tray, you can also use a poster board or even just a clean table or desk. For props, I like to use pieces from my collection like game cartridges, books, plushies or toys. To set yourself apart from other people’s content, you can use other things that relate to you. I personally like to use food or candy to add some color and depth to my photos.
The Set-up
When you’re taking photos, it can be easy to have the screen washed out or too dark which makes them almost impossible to see and not appealing to the eye. One of the most important tips I can give is to use natural lighting. You don’t need expensive studio lights to get a nice result, I take my photos near a window but with indirect sunlight.
If you’re having issues getting the screen to show up clearly try tilting your system and taking your photo from different angles, also, don’t forget to turn the brightness all the way up on your system’s screen.
When you’re setting up props, make sure you prioritize which items you want to feature, don’t worry about a few of the items being out of frame, if anything that will add an interesting element and to the composition of the final photo.
Let’s Shoot!
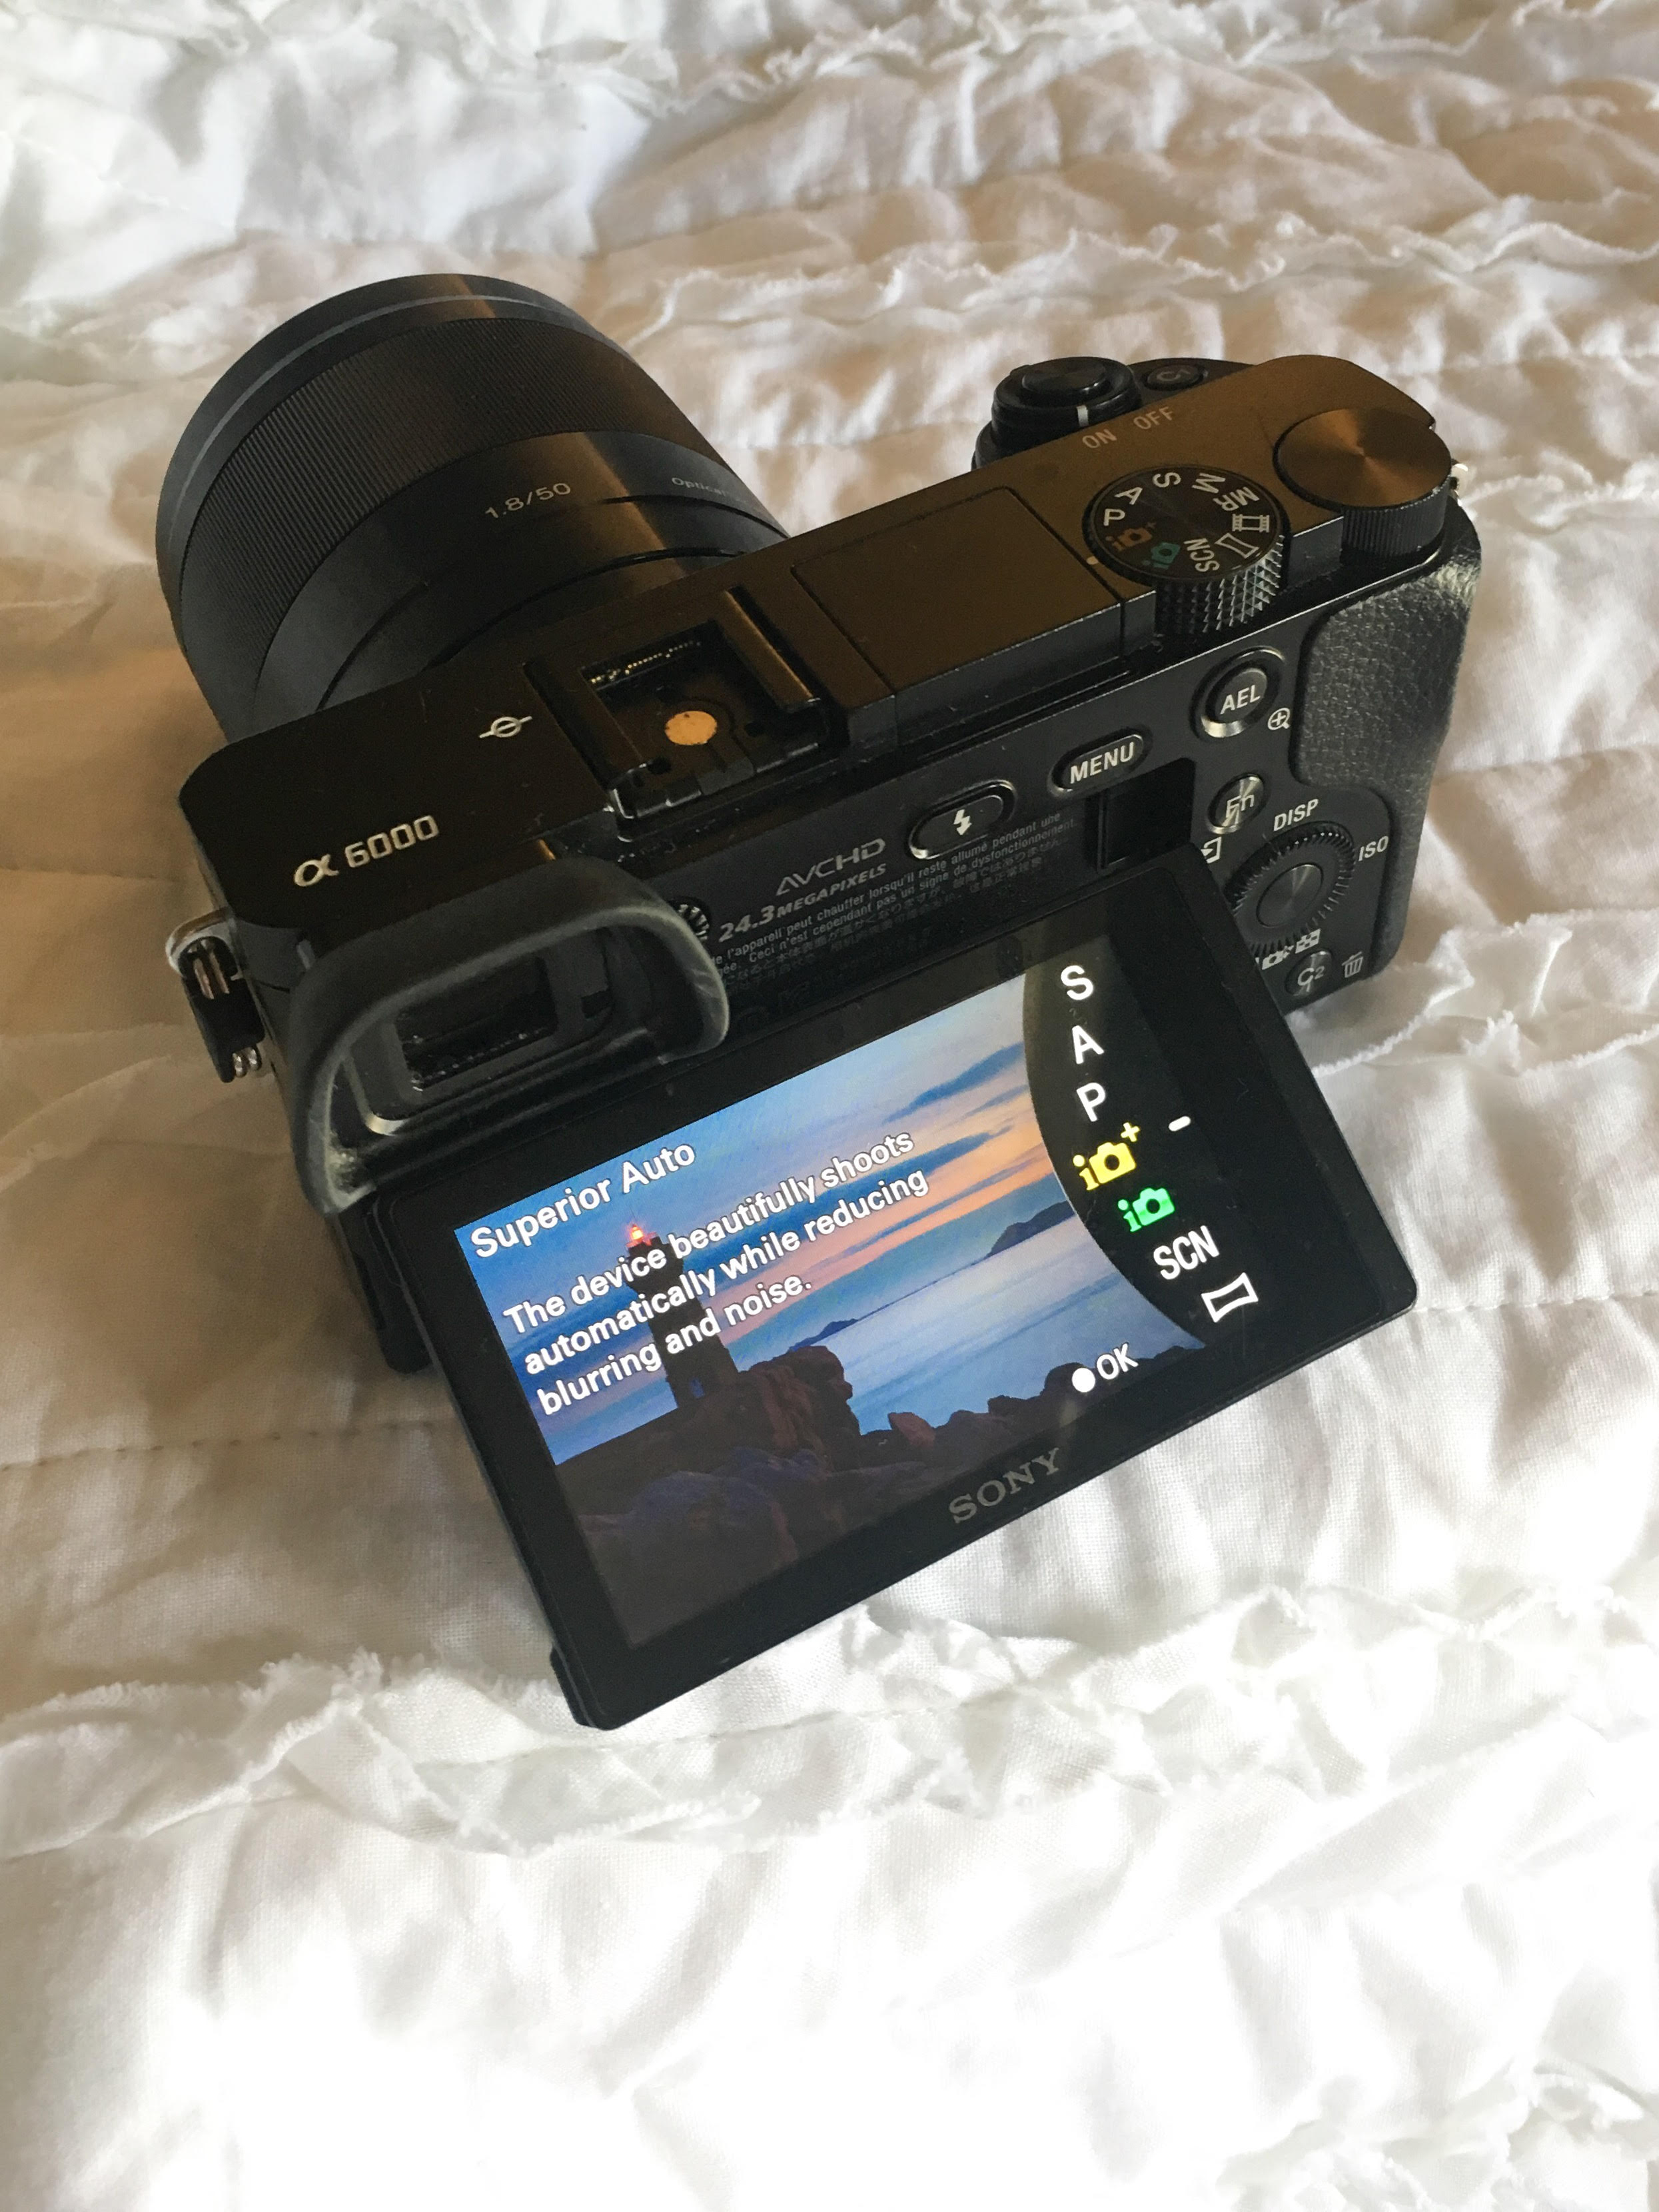
If you’re using a camera, make sure to choose the optimum setting for your subject matter, for today I’ll be using the auto focus setting for the sake of simplicity.
When taking a photo, I like to take multiple shots because it’s likely that a few will come out of focus or will have some other issue, therefore you have more options to choose from when choosing your photo.
Choose your photo
When choosing a photo, there are a couple things you should consider, where is the focus? is it the main subject of your photo? is it clear? are all the props you want to feature shown in your shot? If you don’t have a computer or editing software, don’t worry, there are dozens of free apps that allow you to edit your pictures. One of my photo editing apps to use is Photoshop Express on my iPhone.
When editing your photo, you should consider the following, how is the exposure? is it too dark? (Be sure to raise the exposure if it is darker than you’d like.) Everyone is going to have a different editing style, I like my photos to be well lit and colorful. You’ll need to experiment with different settings and edits to decide which style you like the best.
This part isn’t necessary but if you’re planning on uploading photos to social media and you are worried about people taking your photo without credit, you can always add a watermark. It doesn’t keep the thieves away but it will at least have your username on there. There are also plenty of free apps with options to watermark. Here is the photo taken on my phone after editing with and without a watermark:

Let’s upload!
When you’re uploading to social media, make sure to use this as an opportunity to double check and verify that there aren’t any mistakes in your photo. It also helps if you compose a clever or relevant caption when you post.
I’ve been taking photos for a few years and the best advice I can give is to practice, practice, practice! You shouldn’t worry about your photos being at professional standards but the more you try, the sooner you will start to improve without even realizing it. Try to take photos of things that you are passionate about, especially if you plan on sharing it on social media.
I hope that these tips were useful to you in improving your video game photography. Be sure to submit your photos to be featured in our Fan Photos for our community!