In 2017, YesOJO launched an Indiegogo campaign to fund an ambitious Nintendo Switch accessory: The World’s First Nintendo Switch Portable Projector Dock. Throughout the year, YesOJO managed to successfully reach their campaign goal. There’s something magical about projectors, and having the opportunity to play Nintendo Switch games on a screen as big as 120 inches seemed like a dream come true. I already had the opportunity to test out the prototype version of the OJO in November of 2017. Despite having a few bugs, I saw a lot of promise in what was already there and was excited to experience the finished product. Now after using it on a daily basis for the past two weeks, I am happy to report that the OJO is definitely an accessory you should have your eye on.
Portable Projections
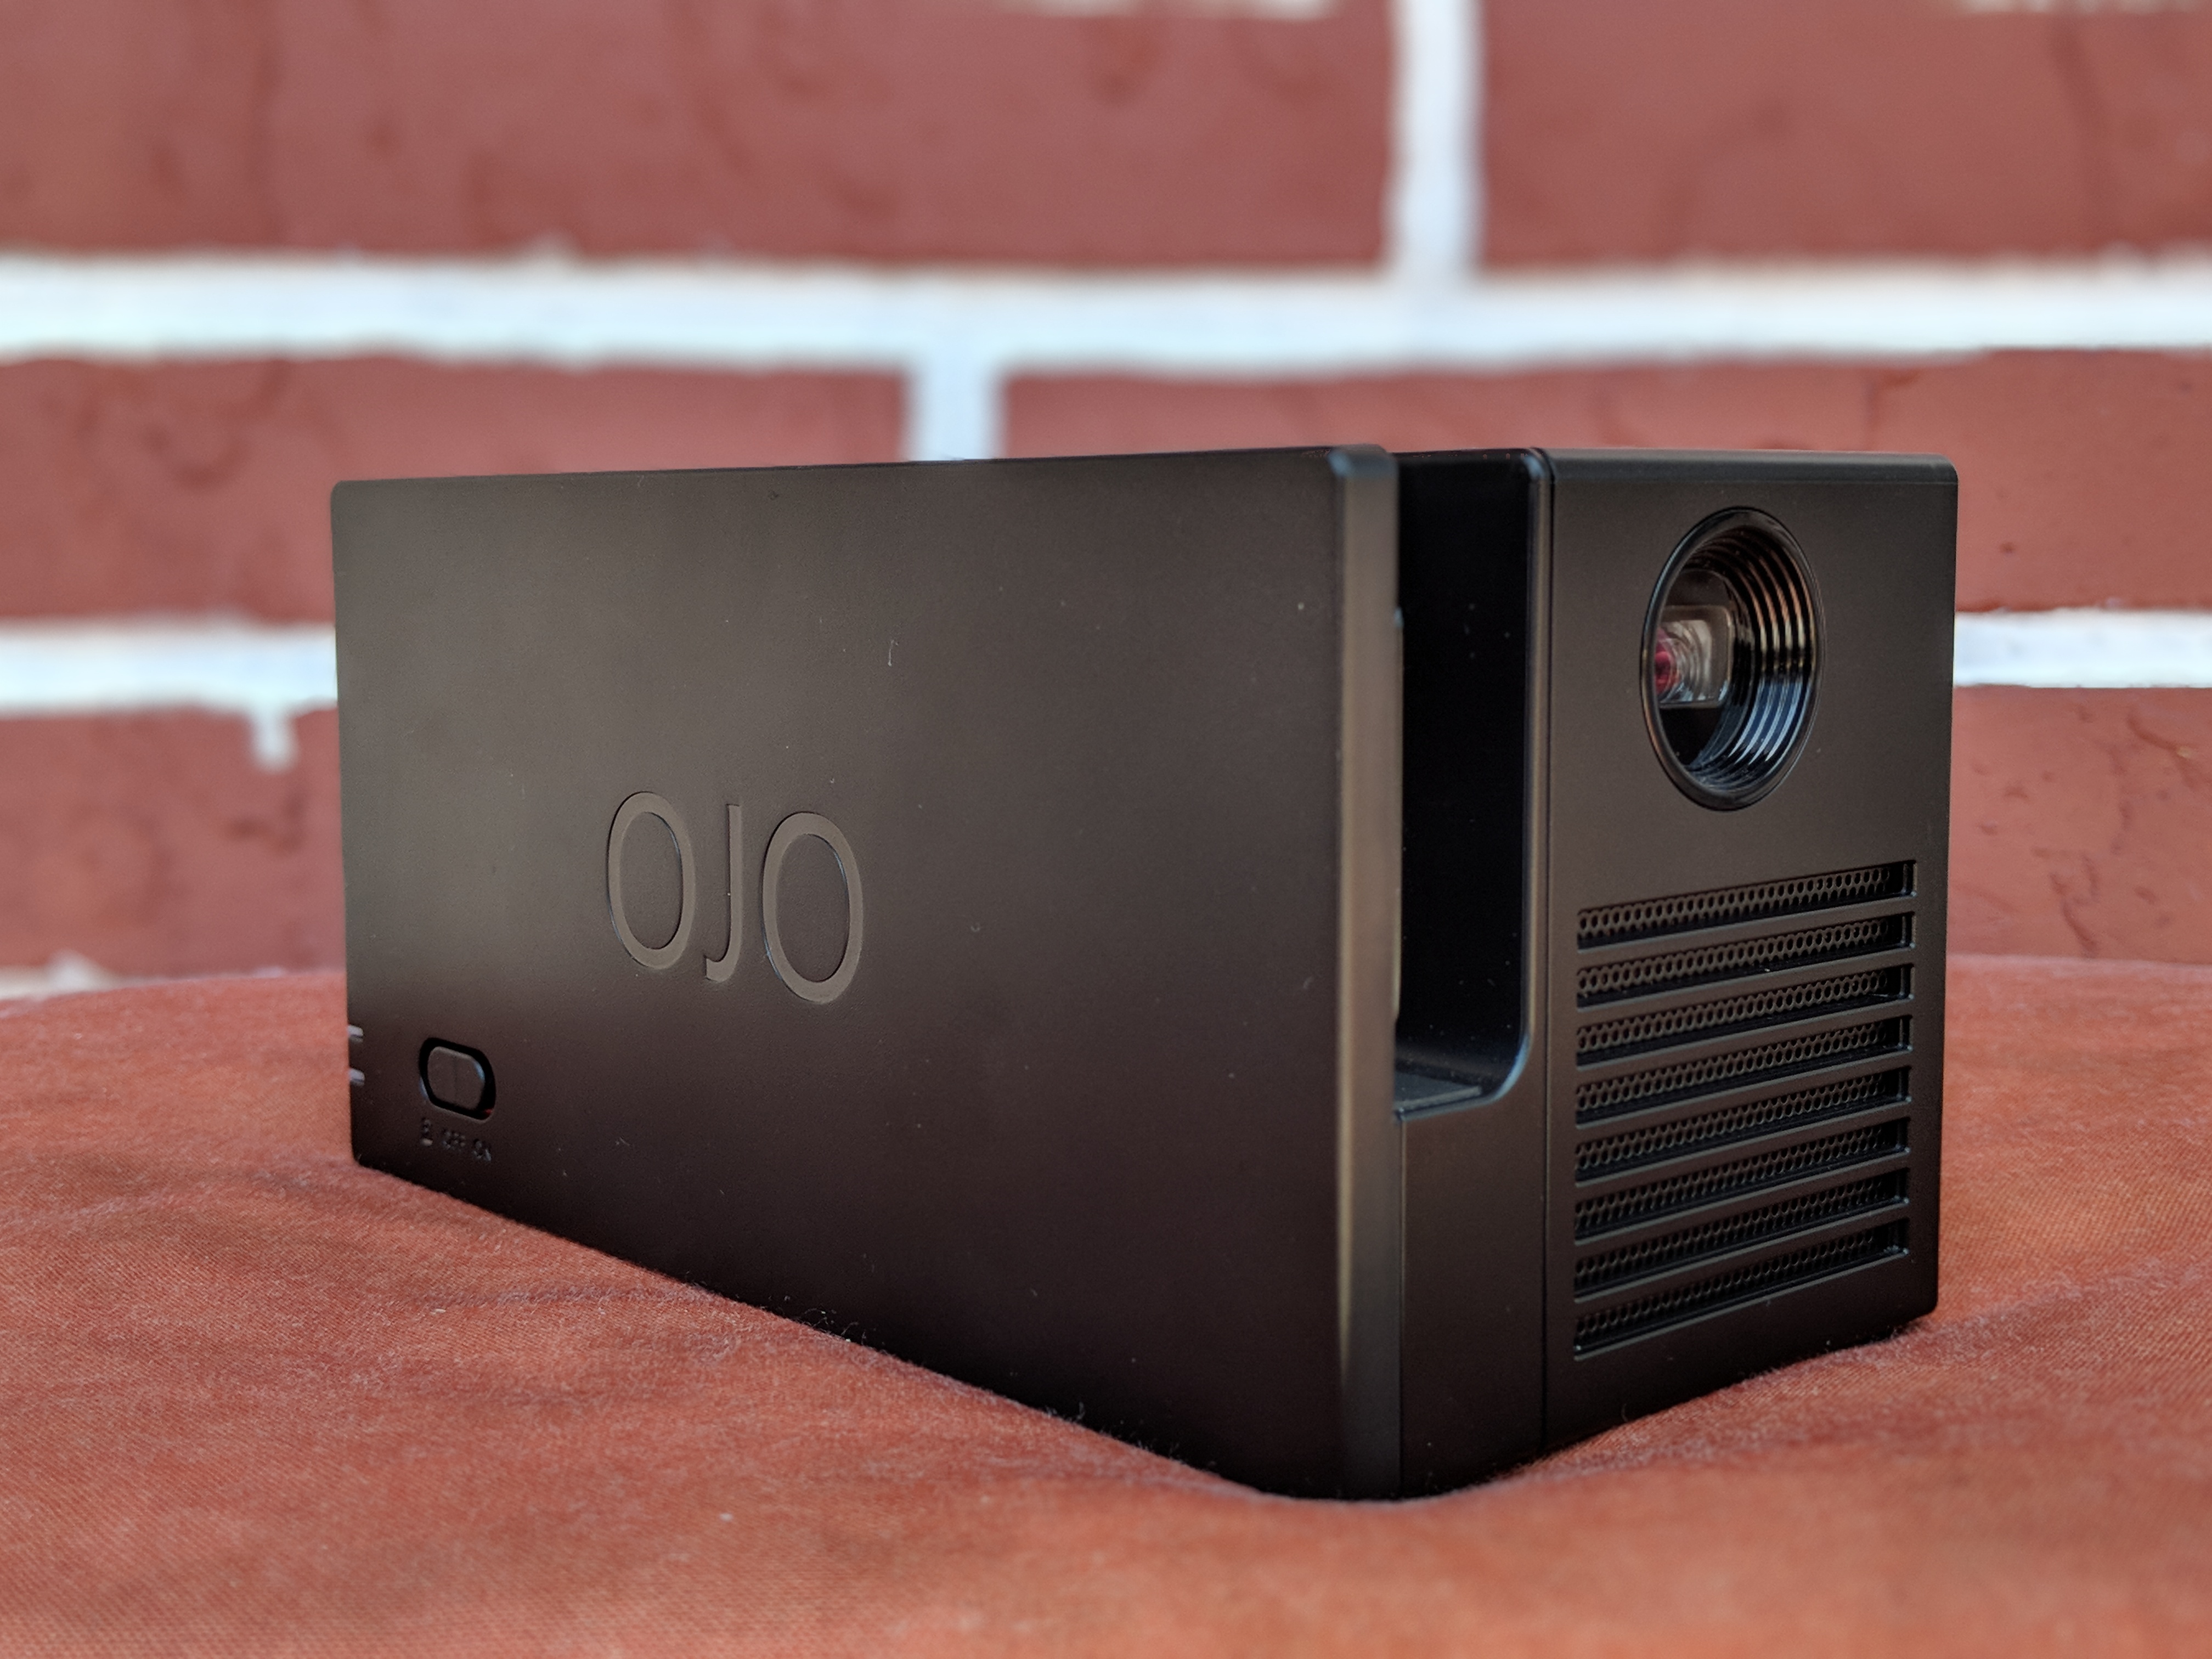
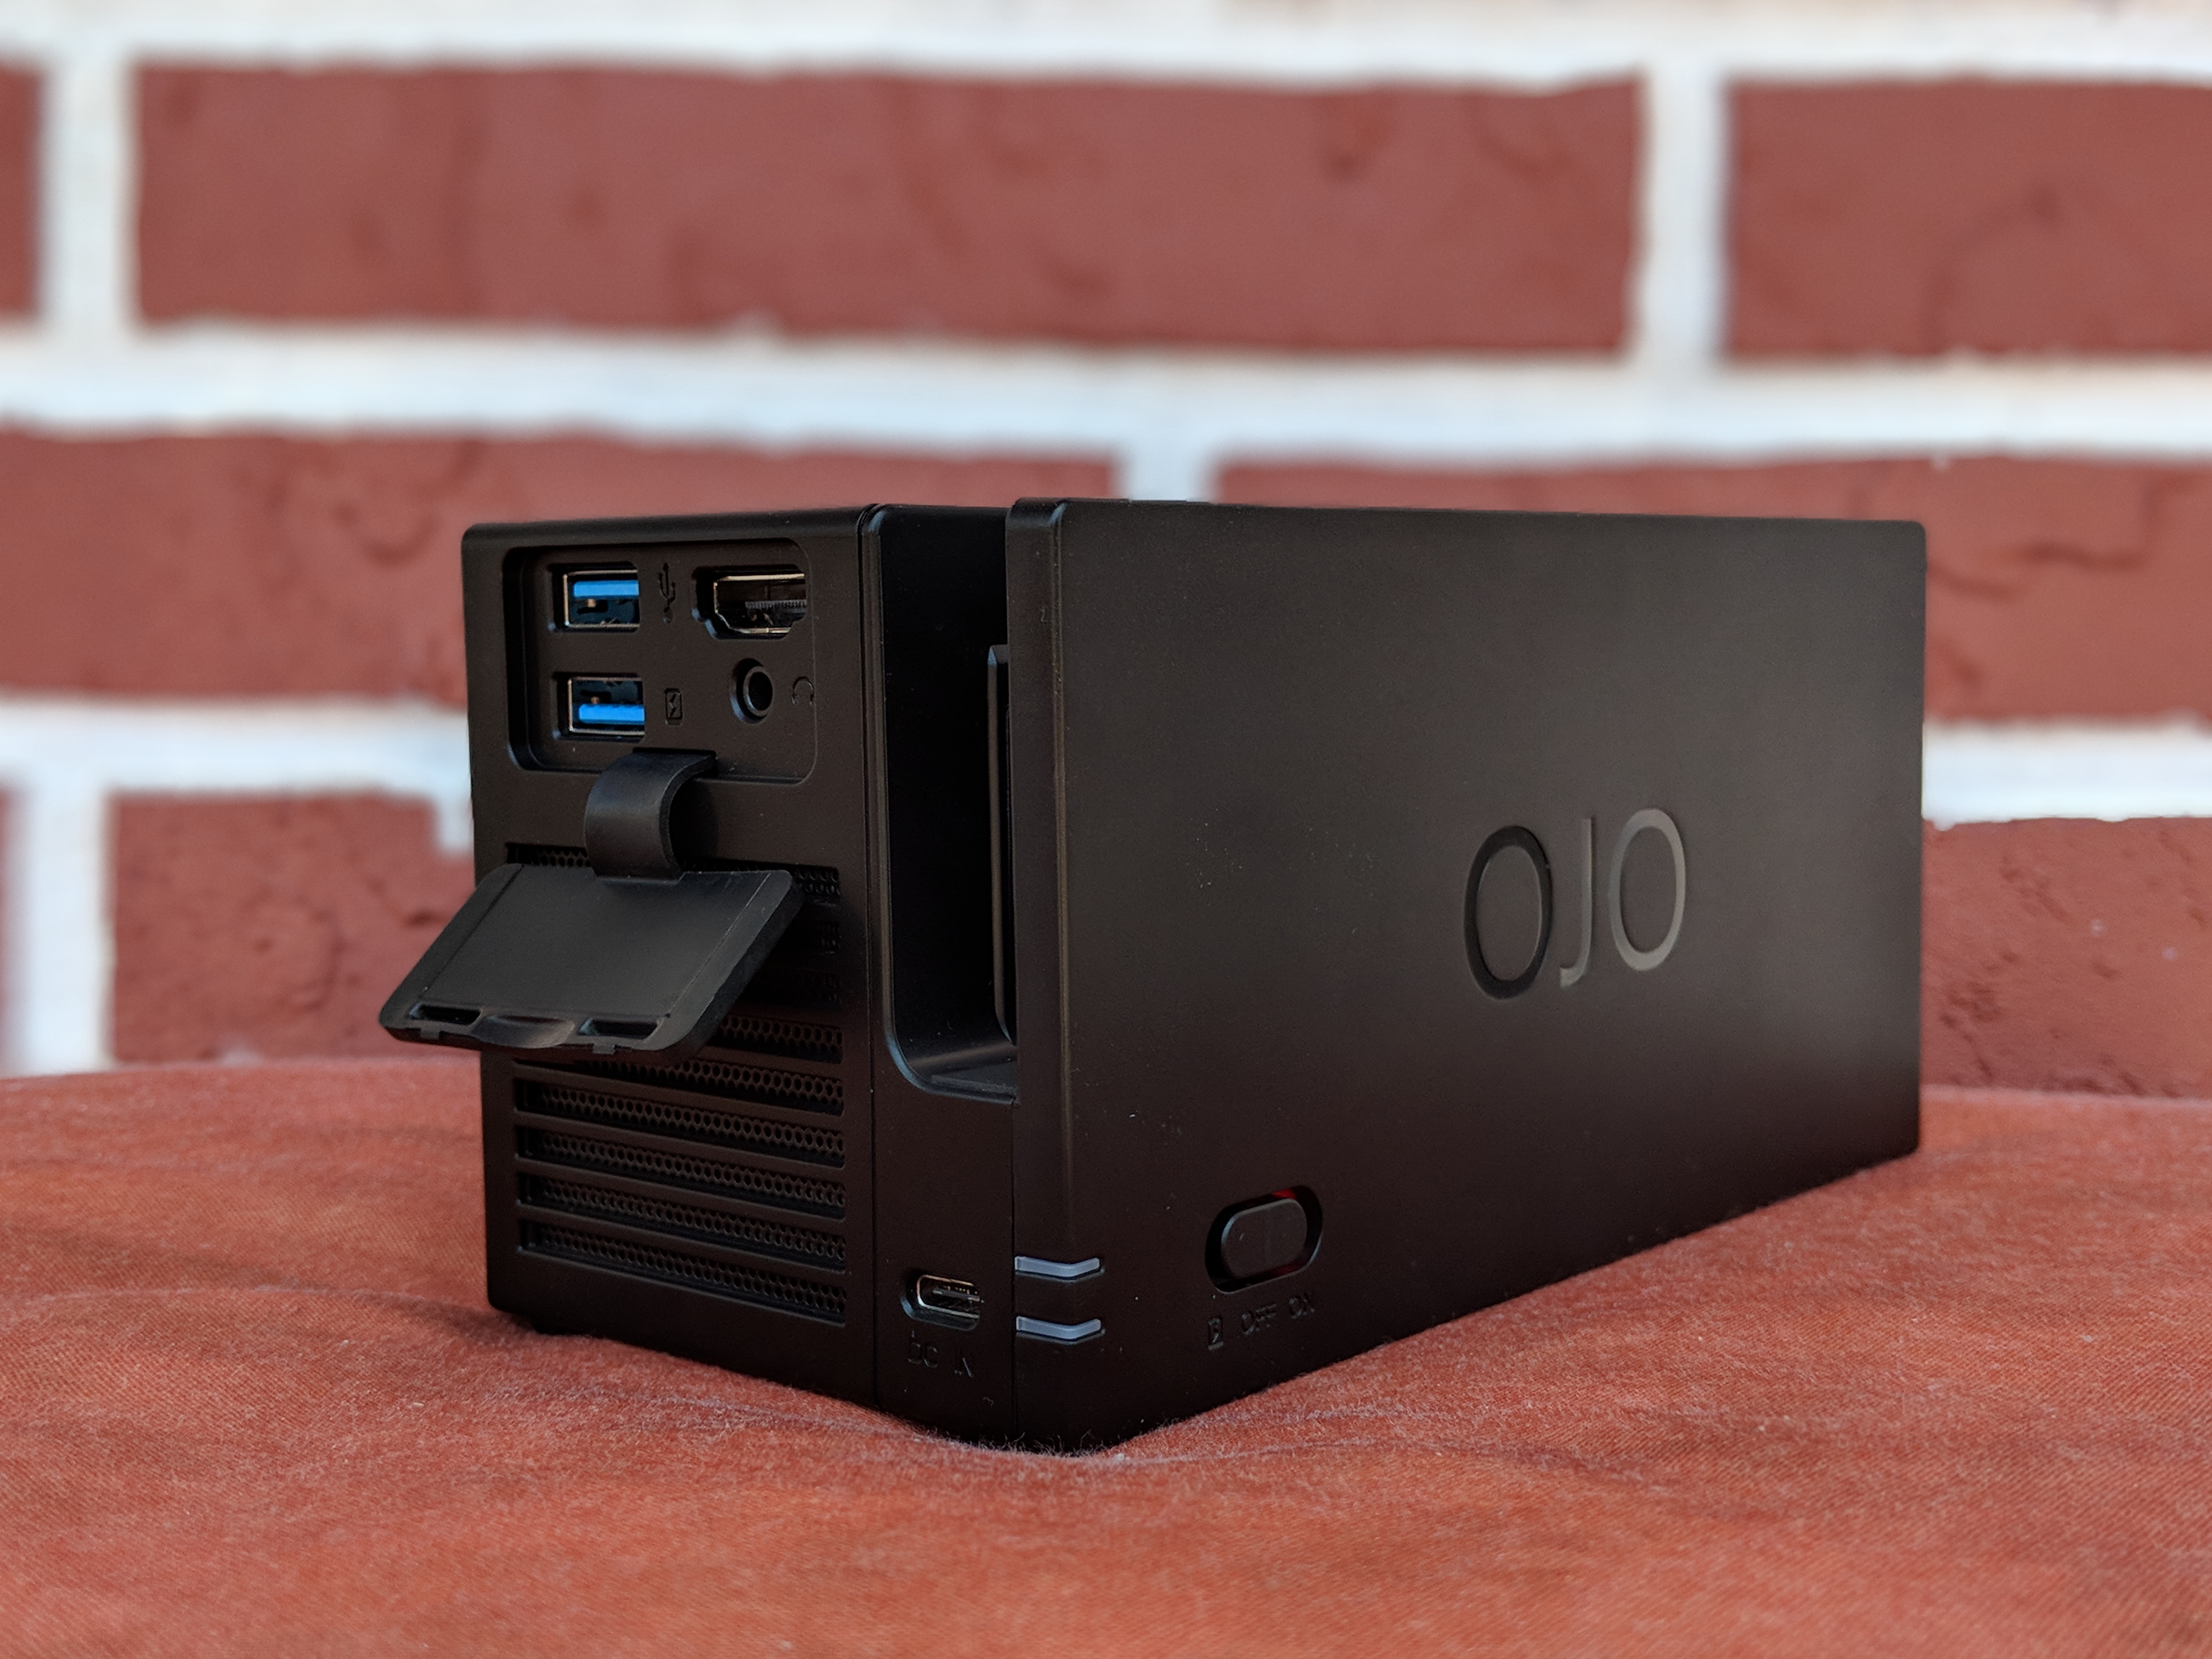
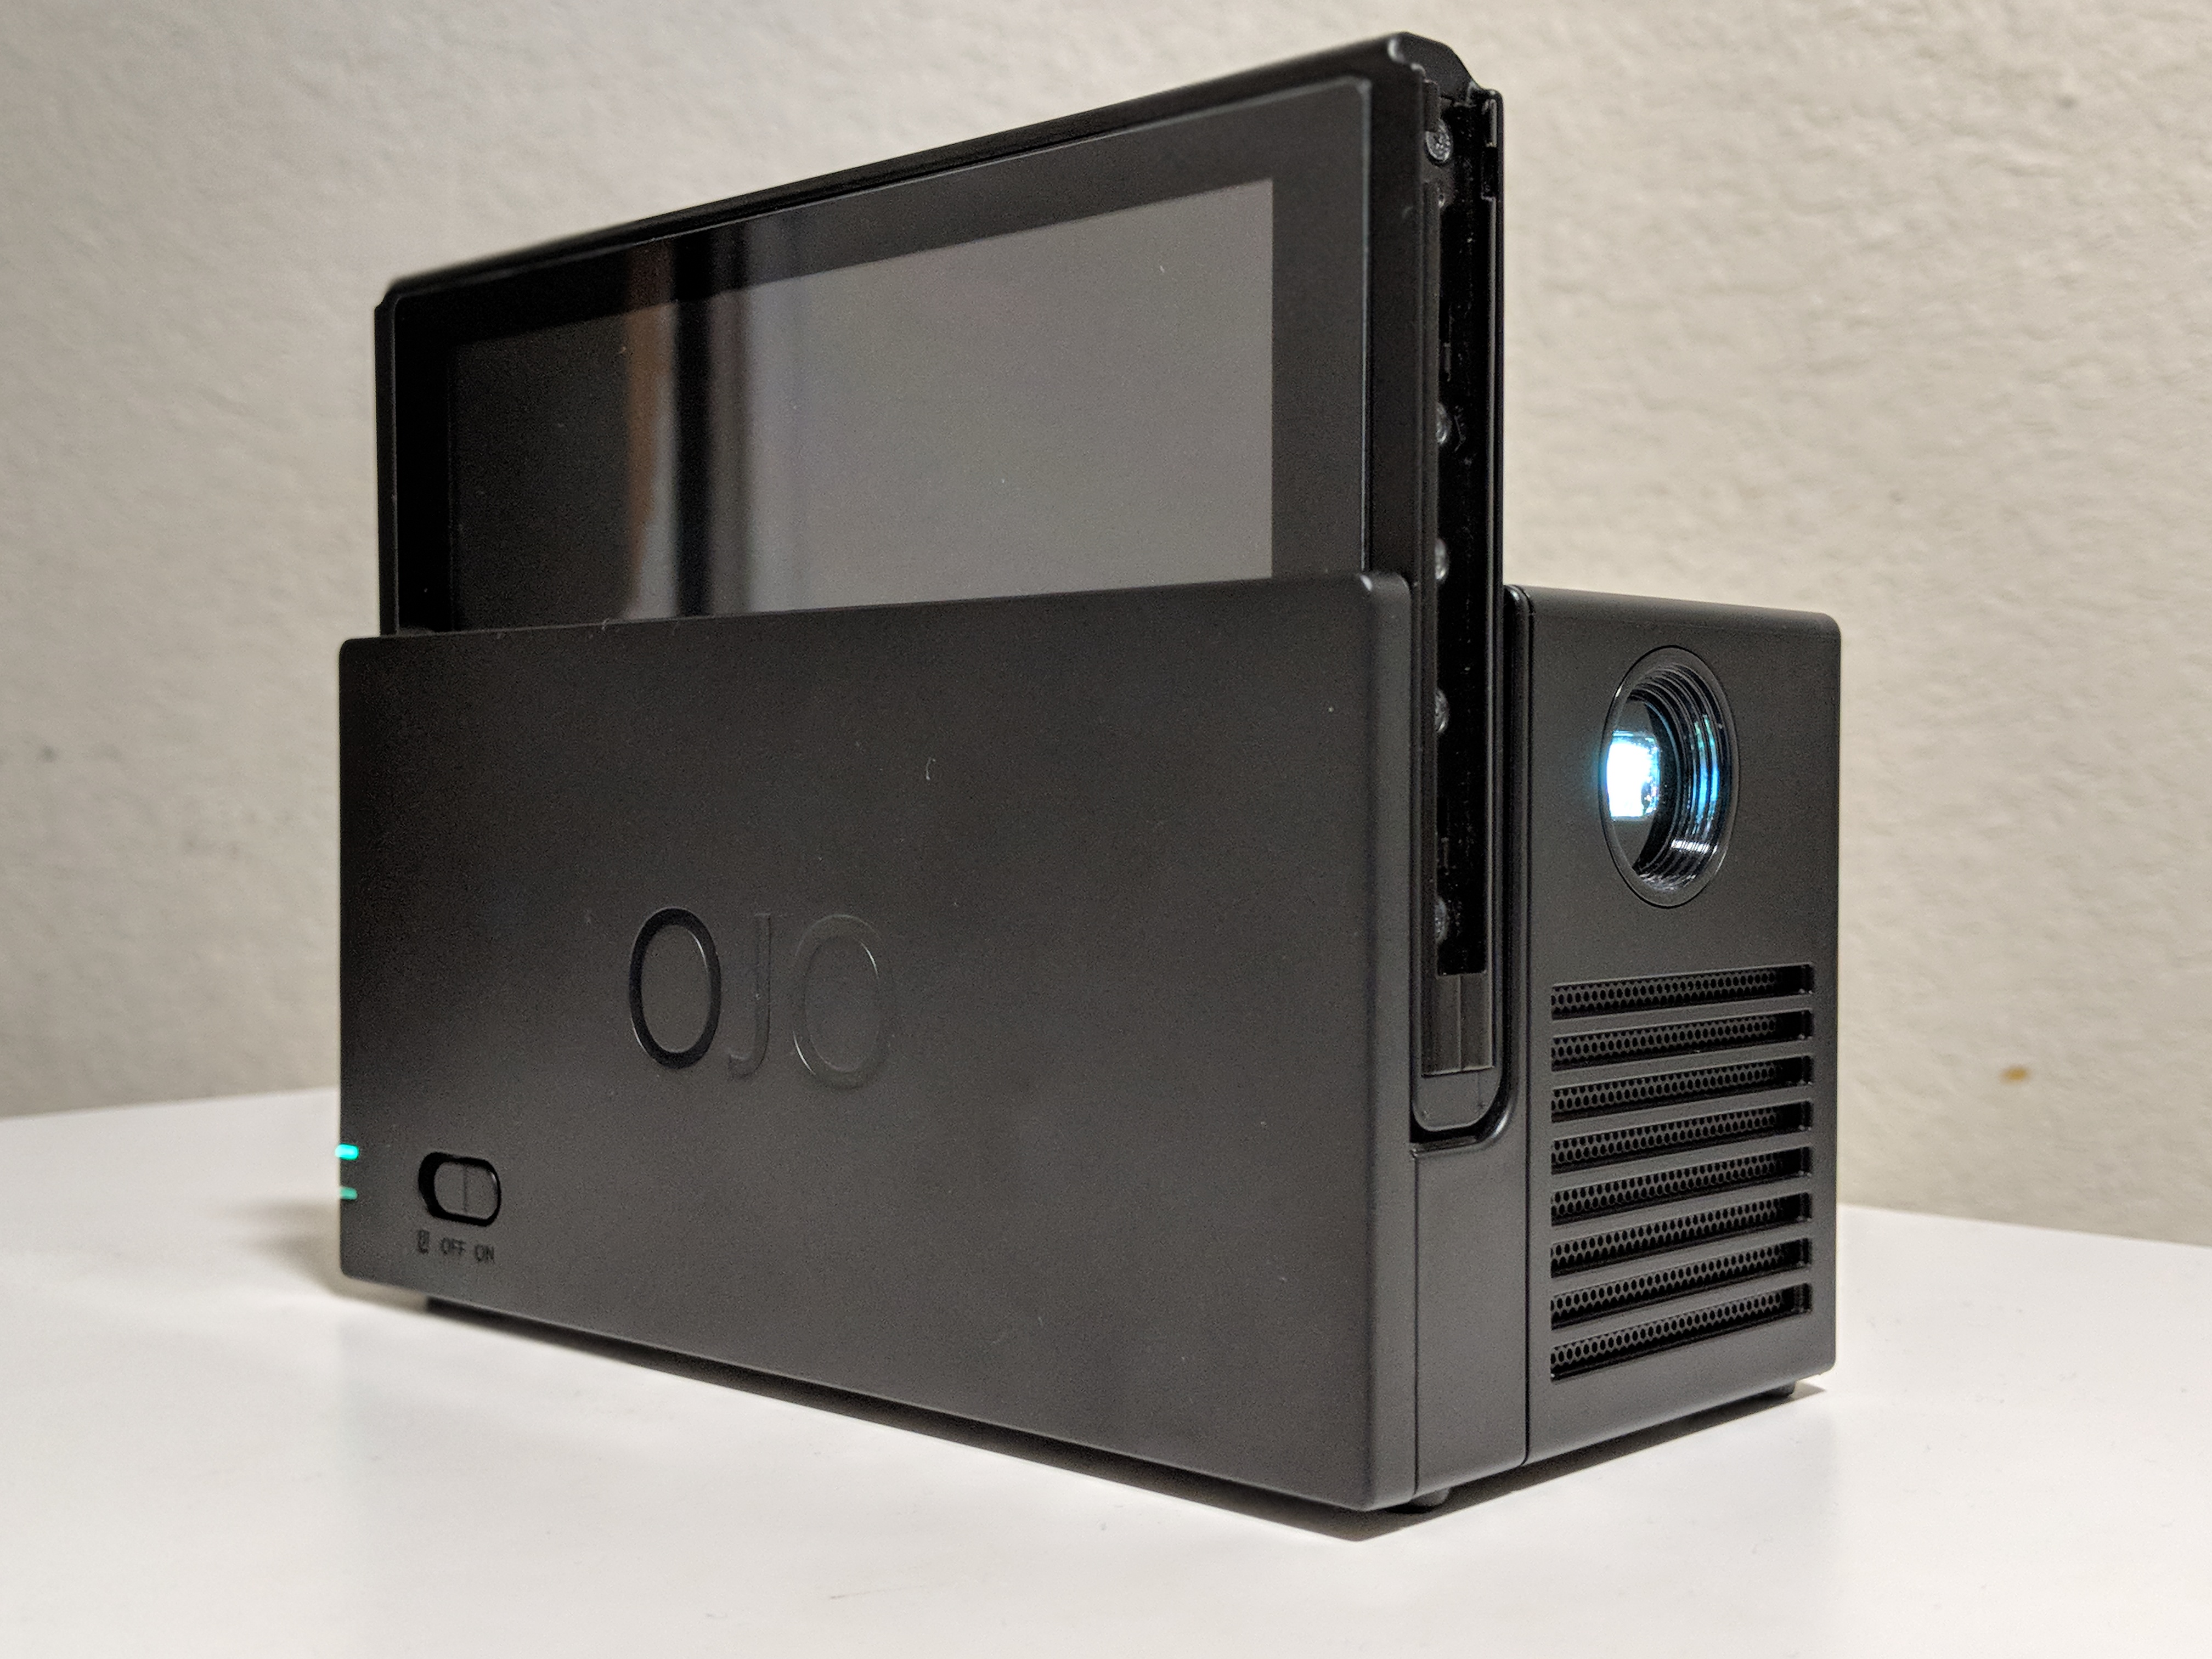
The retail version of the OJO has not changed much at all since I tried the prototype back in November. The OJO is still a small, black, plastic box, that is about the size of one and a half Nintendo Switch dock’s taped together. It’s a bit heavy, but not heavy enough that you would feel discomfort when carrying it in a bag or backpack. The build materials of the retail OJO feel different than the prototype. It’s a lot sturdier and does not collect fingerprints as easily. It still carries the same I/O as before with an HDMI-In port, 2 USB 3.1 ports, an AUX-Out port, and a USB-C port for charging the OJO’s internal battery. A smaller sized internal battery has carried over to the retail version of the OJO at a size of 20,000 maH. This huge battery ensures you will be able to play with your Nintendo Switch or other HDMI enabled devices on the OJO for a few hours before needing to charge it again. A great thing about the OJO and its large battery is that it also works as a portable charger, meaning you can charge your phone or any other devices several times before the internal battery of the OJO is depleted.
The Projector in Practice
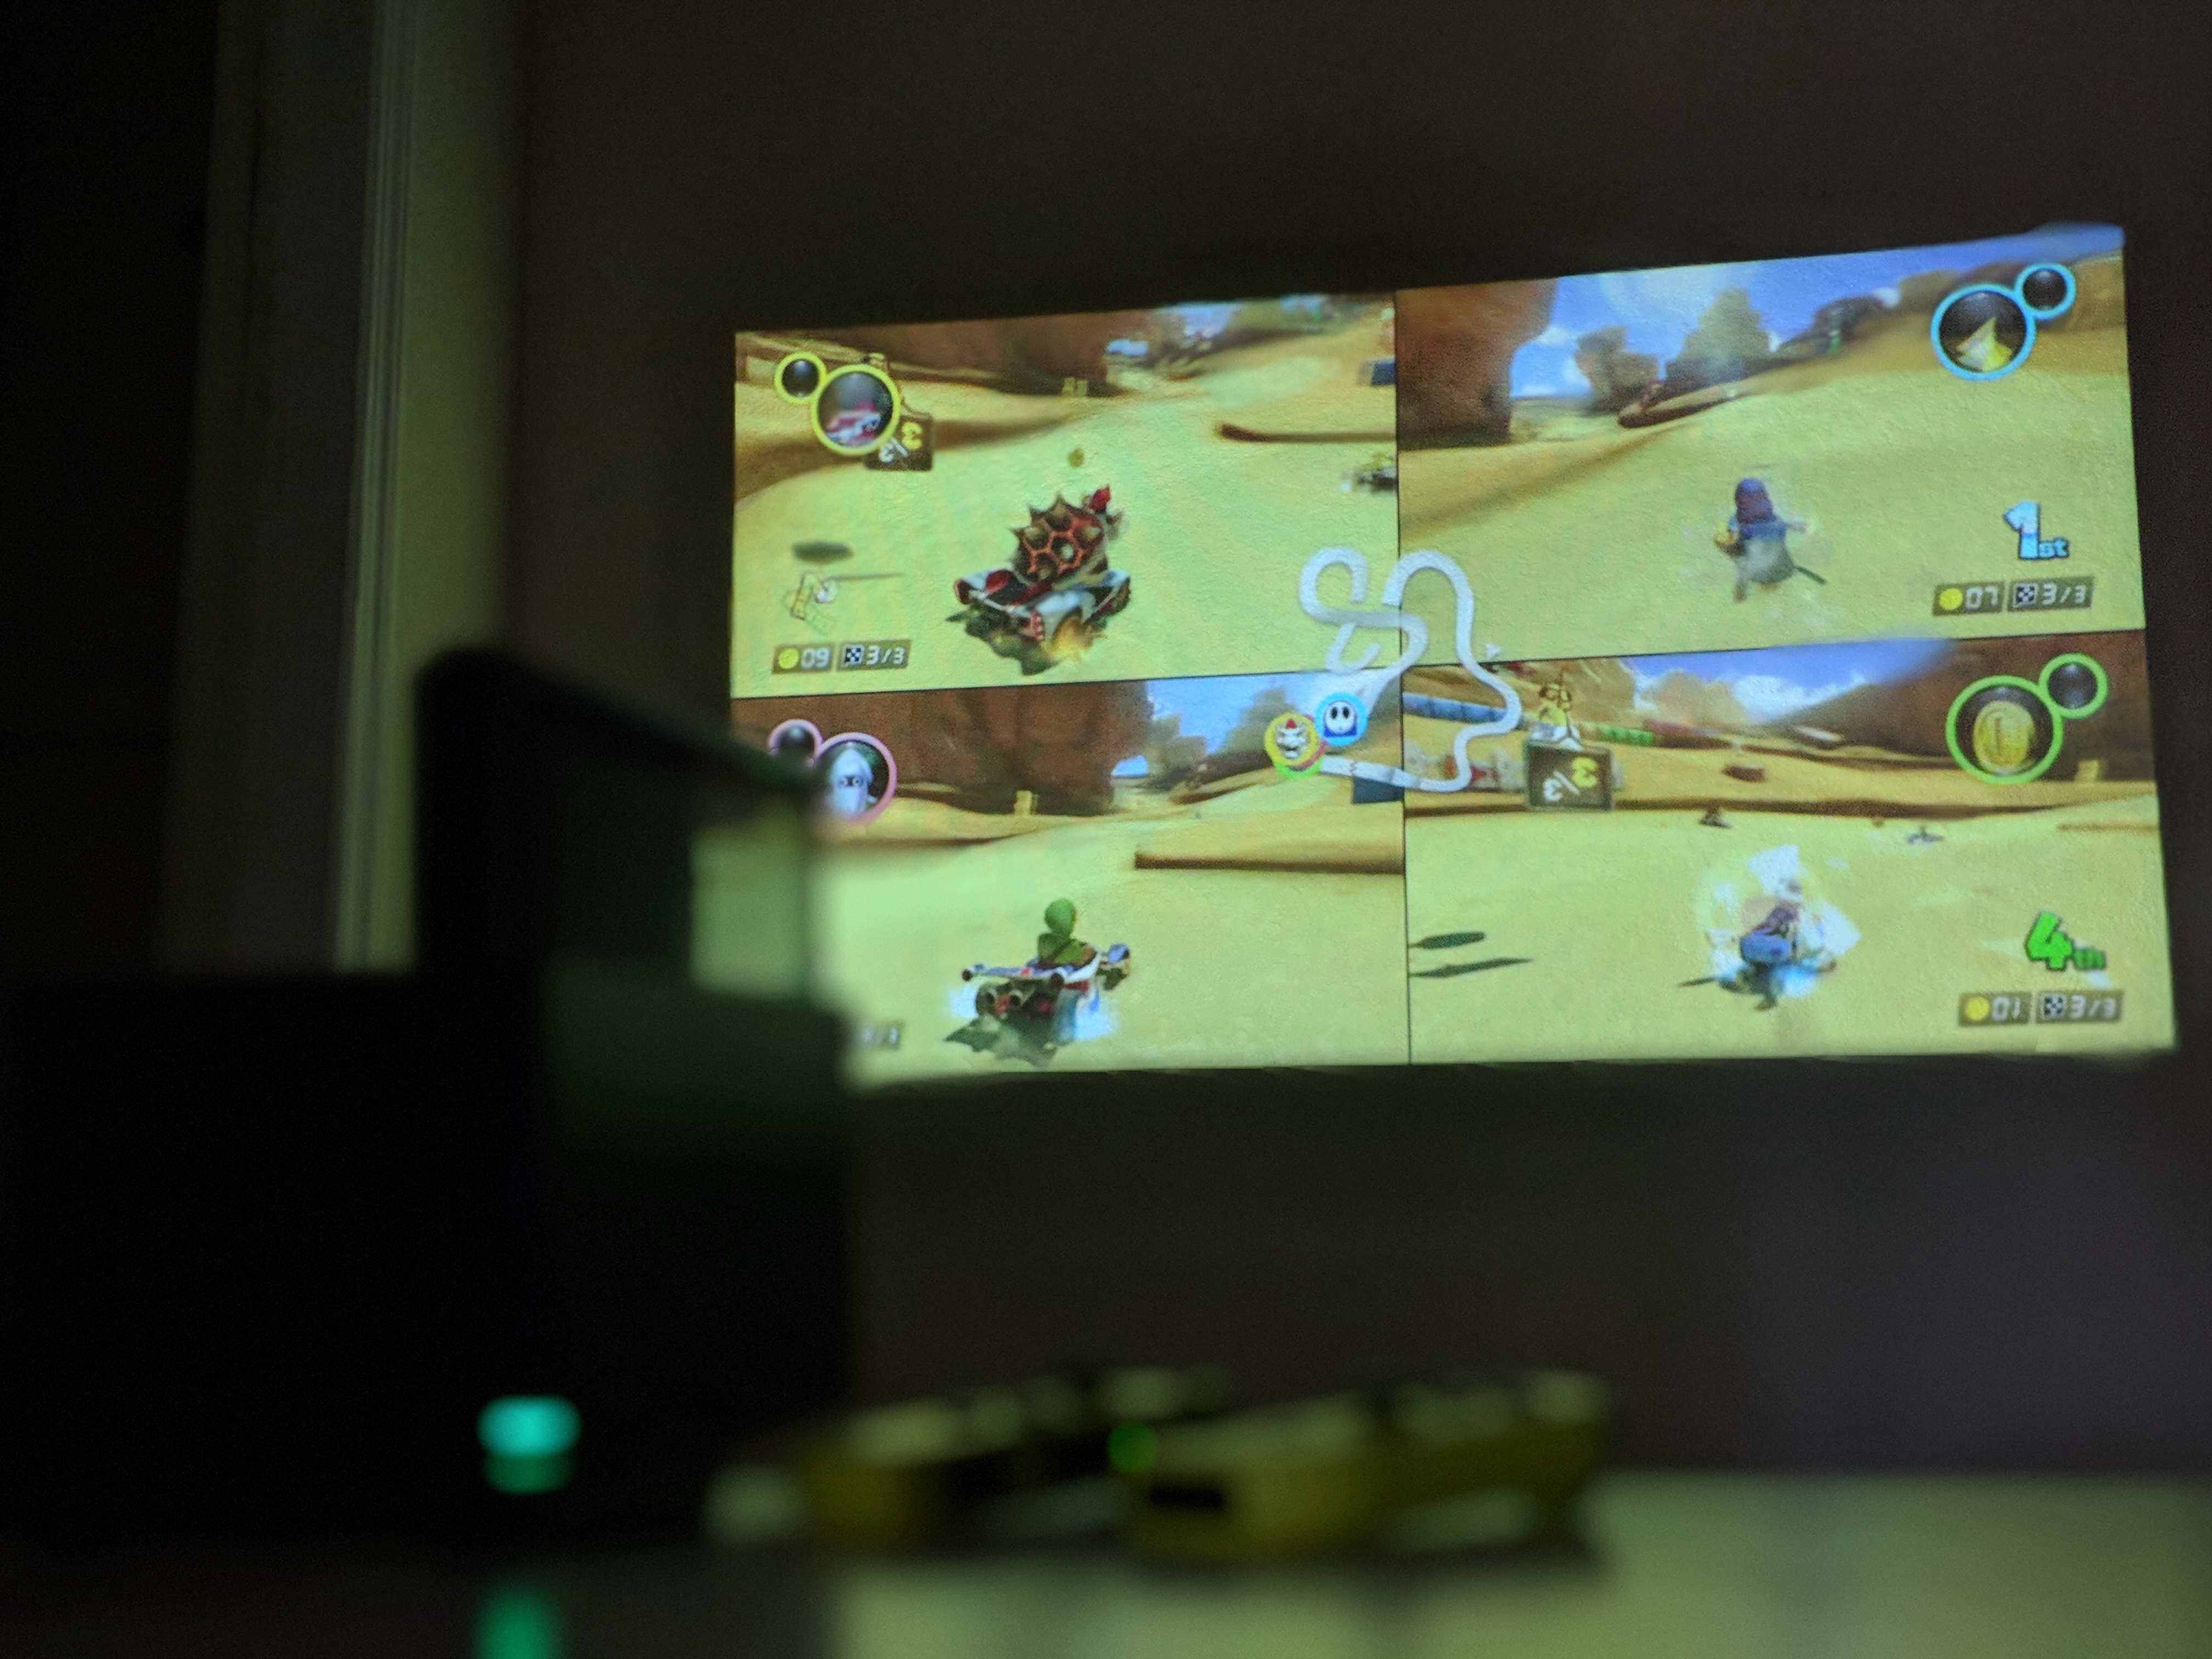
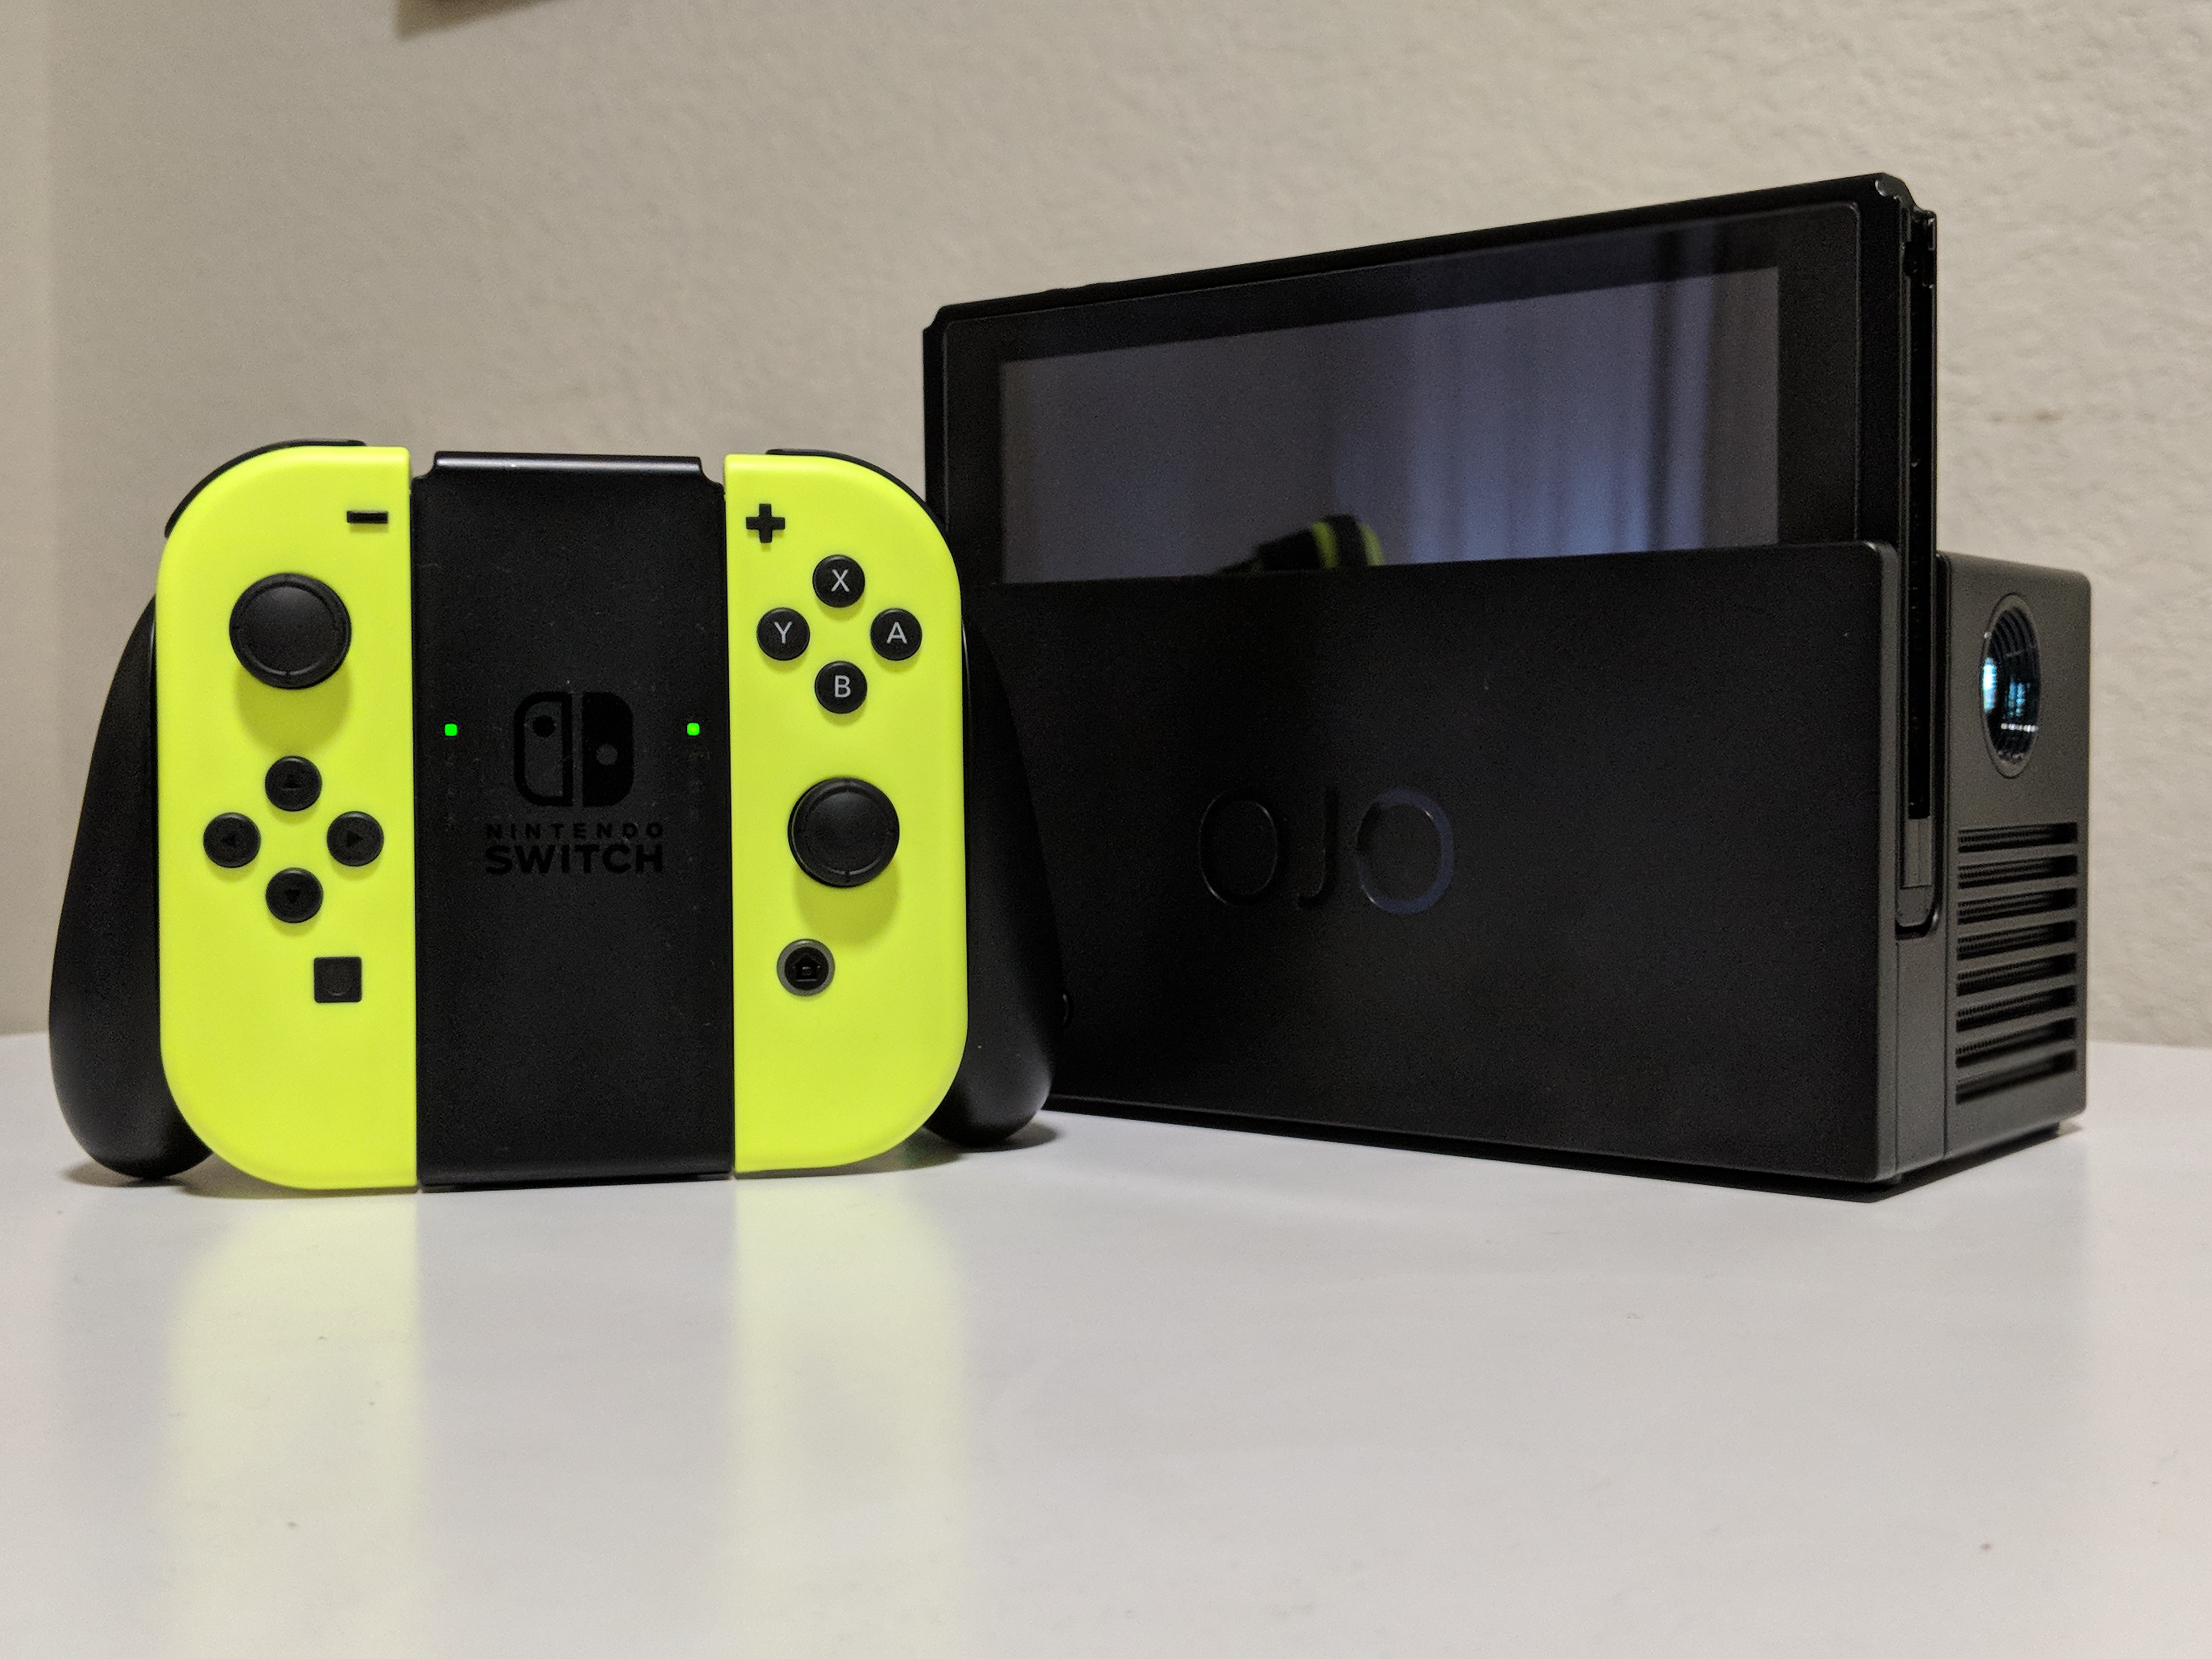
Using the OJO is straightforward thanks to its simple switch and button layout. On the right side of the OJO where the “OJO” logo is displayed, there is a small switch located on the bottom left. It has three positions: left for using it as a portable battery, middle for shutting it off, and right for powering it on as a projector. On the top of the OJO, there are buttons for changing the volume level of the internal speaker and buttons for manually focusing the lens to whatever surface you are projecting on. While the OJO does not have the ability to autofocus the image as soon as it’s powered on, once you focus the lens to a surface, the OJO will auto-adjust to ensure the image is as sharp as it can be while you are playing. All you have to do to enjoy your Nintendo Switch games on the OJO is flip the switch to the right/on position, dock your Nintendo Switch system into the OJO, and manually focus the image onto the surface you want to play on. It’s such an easy process that I often prefer using the OJO to project games on my bedroom wall than on the 4K TV in my parent’s living room.
My absolute favorite thing about the OJO is the fact that it does not have to be used with only the Nintendo Switch. Thanks to the HDMI-In port on the back, any HDMI enabled device should work properly for projecting whatever content you want to watch or play. I have used the OJO extensively with my PS4 and PC. I’ve played games like Monster Hunter: World and Dragonball FighterZ seamlessly on my PS4 through the OJO. I have also been able to project movies, TV shows, and videos on the OJO through Netflix, Hulu, and YouTube with my PS4 as well. Using the OJO as a standard projector with a device plugged in via HDMI allows the battery life of the projector to last longer. I imagine it’s because there is less heat building up because the OJO is not actively powering another device but in this use case, the OJO lasted me nearly 5 hours every time (I’ve been playing a lot Monster Hunter: World).
Projecting the Downsides
When using the Nintendo Switch docked into the OJO though, battery life is a little less than expected. When I tested the prototype version of the OJO, I was able to play games on the Nintendo Switch for almost 4 hours before the OJO needed to be recharged again. Unfortunately, I have been getting a little over 3 hours on the retail version of the OJO. I have made sure that the OJO was fully charged each time I played, but the OJO struggled to last longer than 3 hours when I was playing with the Nintendo Switch docked into the OJO. The OJO makes up for this shorter than expected battery life by allowing you to charge it as you play, essentially making it a standard projector that needs to be plugged into an AC outlet. It’s a minor inconvenience, but this versatility ensures that you’re able to enjoy the OJO for much longer.
On the positive side though, the prototype version of the OJO I tested took about 6 hours to fully charge and there was no battery life indicator on the device in order to know how much battery was remaining. The retail version has taken me 4 hours to charge on average, and it also features a small LED indicator light next to the power on switch. There are 3 colors; green, yellow, and red, with each color indicating the remaining battery percentage. There is nothing written about it in the instruction booklet, but my estimations of each indicator are that green means 100%-75% battery, yellow means 75%-50% battery, red means 50%-25% battery remaining, and blinking red indicates the final 25% of the battery is available.
The biggest downside I can think of when it comes to the OJO is the resolution of the images being projected. Even though the Nintendo Switch and many other HDMI enabled devices can output in 720p and 1080p, the OJO can only output at a slightly higher resolution of 480p (854×480). It’s important to remember that the OJO is not supposed to replace a traditional television set up, but the 480p can become distracting under certain conditions. Text in Rocket League becomes hard to read depending on how big the projection screen is while the grass in Breath of the Wild becomes a huge shade of green thanks to the OJO’s inability to display the detail of the blades of grass. If your goal with the OJO is to enjoy games on a huge 120-inch projection, you are going to accept a significant loss in visual quality.
Final Thoughts
Even though purchasing an OJO is costs more than purchasing a Nintendo Switch itself at $399.00 (USD), the OJO is still my favorite accessory of the year so far. The resolution can be disappointing in some cases, the battery life of the OJO when used as a Nintendo Switch dock is less than stellar, and it can get a bit loud sometimes so it’s definitely far from perfect.
When compared to other projectors, however, the OJO does way more in a compact and affordable package. The OJO serves as a portable Nintendo Switch dock projector first and foremost, but it also works as a standard HDMI based projector, a portable charger, and it has an internal speaker. The OJO accomplishes a majority of the things it has set out to and does them well with minimal effort from the user. It’s easy to understand switch-on-and-play nature helps it fit seamlessly into the ethos established by the Nintendo Switch hardware ecosystem. The OJO is available now for purchase on Amazon at $399.00 (USD).
Review Product Provided By YesOJO